Setup Swarm Mode in 1.12 on Digital Ocean with Failover
Hey, only got a few minutes to learn something new on Docker? Let's setup a 2-node cluster that runs the same Docker Hub image on each.
Using Two Digital Ocean Servers to Create a Highly Available Nginx web server for $10 a month!
NOTE: This is using docker 1.12.4 in Dec 2016, and should work on anything >= 1.12.
Command Cheat Sheet
TL;DR: Here's the commands we'll use, in a quick reference list
curl -fsSL https://get.docker.com/ | sh#install dockerdocker swarm init --advertise-addr x.x.x.x#create swarmdocker swarm join --token xxx x.x.x.x:2377#add node to swarmdocker service create --name nginx --publish 80:80 --replicas 2 nginx# download and run nginx image on two containers
Docker puts a lot of effort into ease-of-use in its tools. Setting up the Docker 1.12 Swarm Mode is a great example of that. It takes minutes to get it working.
NOTE: This tutorial skips how you would setup a static content website using a GitHub repo and maybe build a Docker image from it, and focuses on the Docker features for enabling high-availability.
I Thought Swarm Has Been Around Years
Swarm Mode in 1.12+ isn't the same as Docker Swarm, which I refer to as "Classic Swarm", which was actually a separate service that has been deprecated in favor of what we're about to enable.
Here's a list of features in the new Swarm Mode.
Create Digital Ocean Droplets
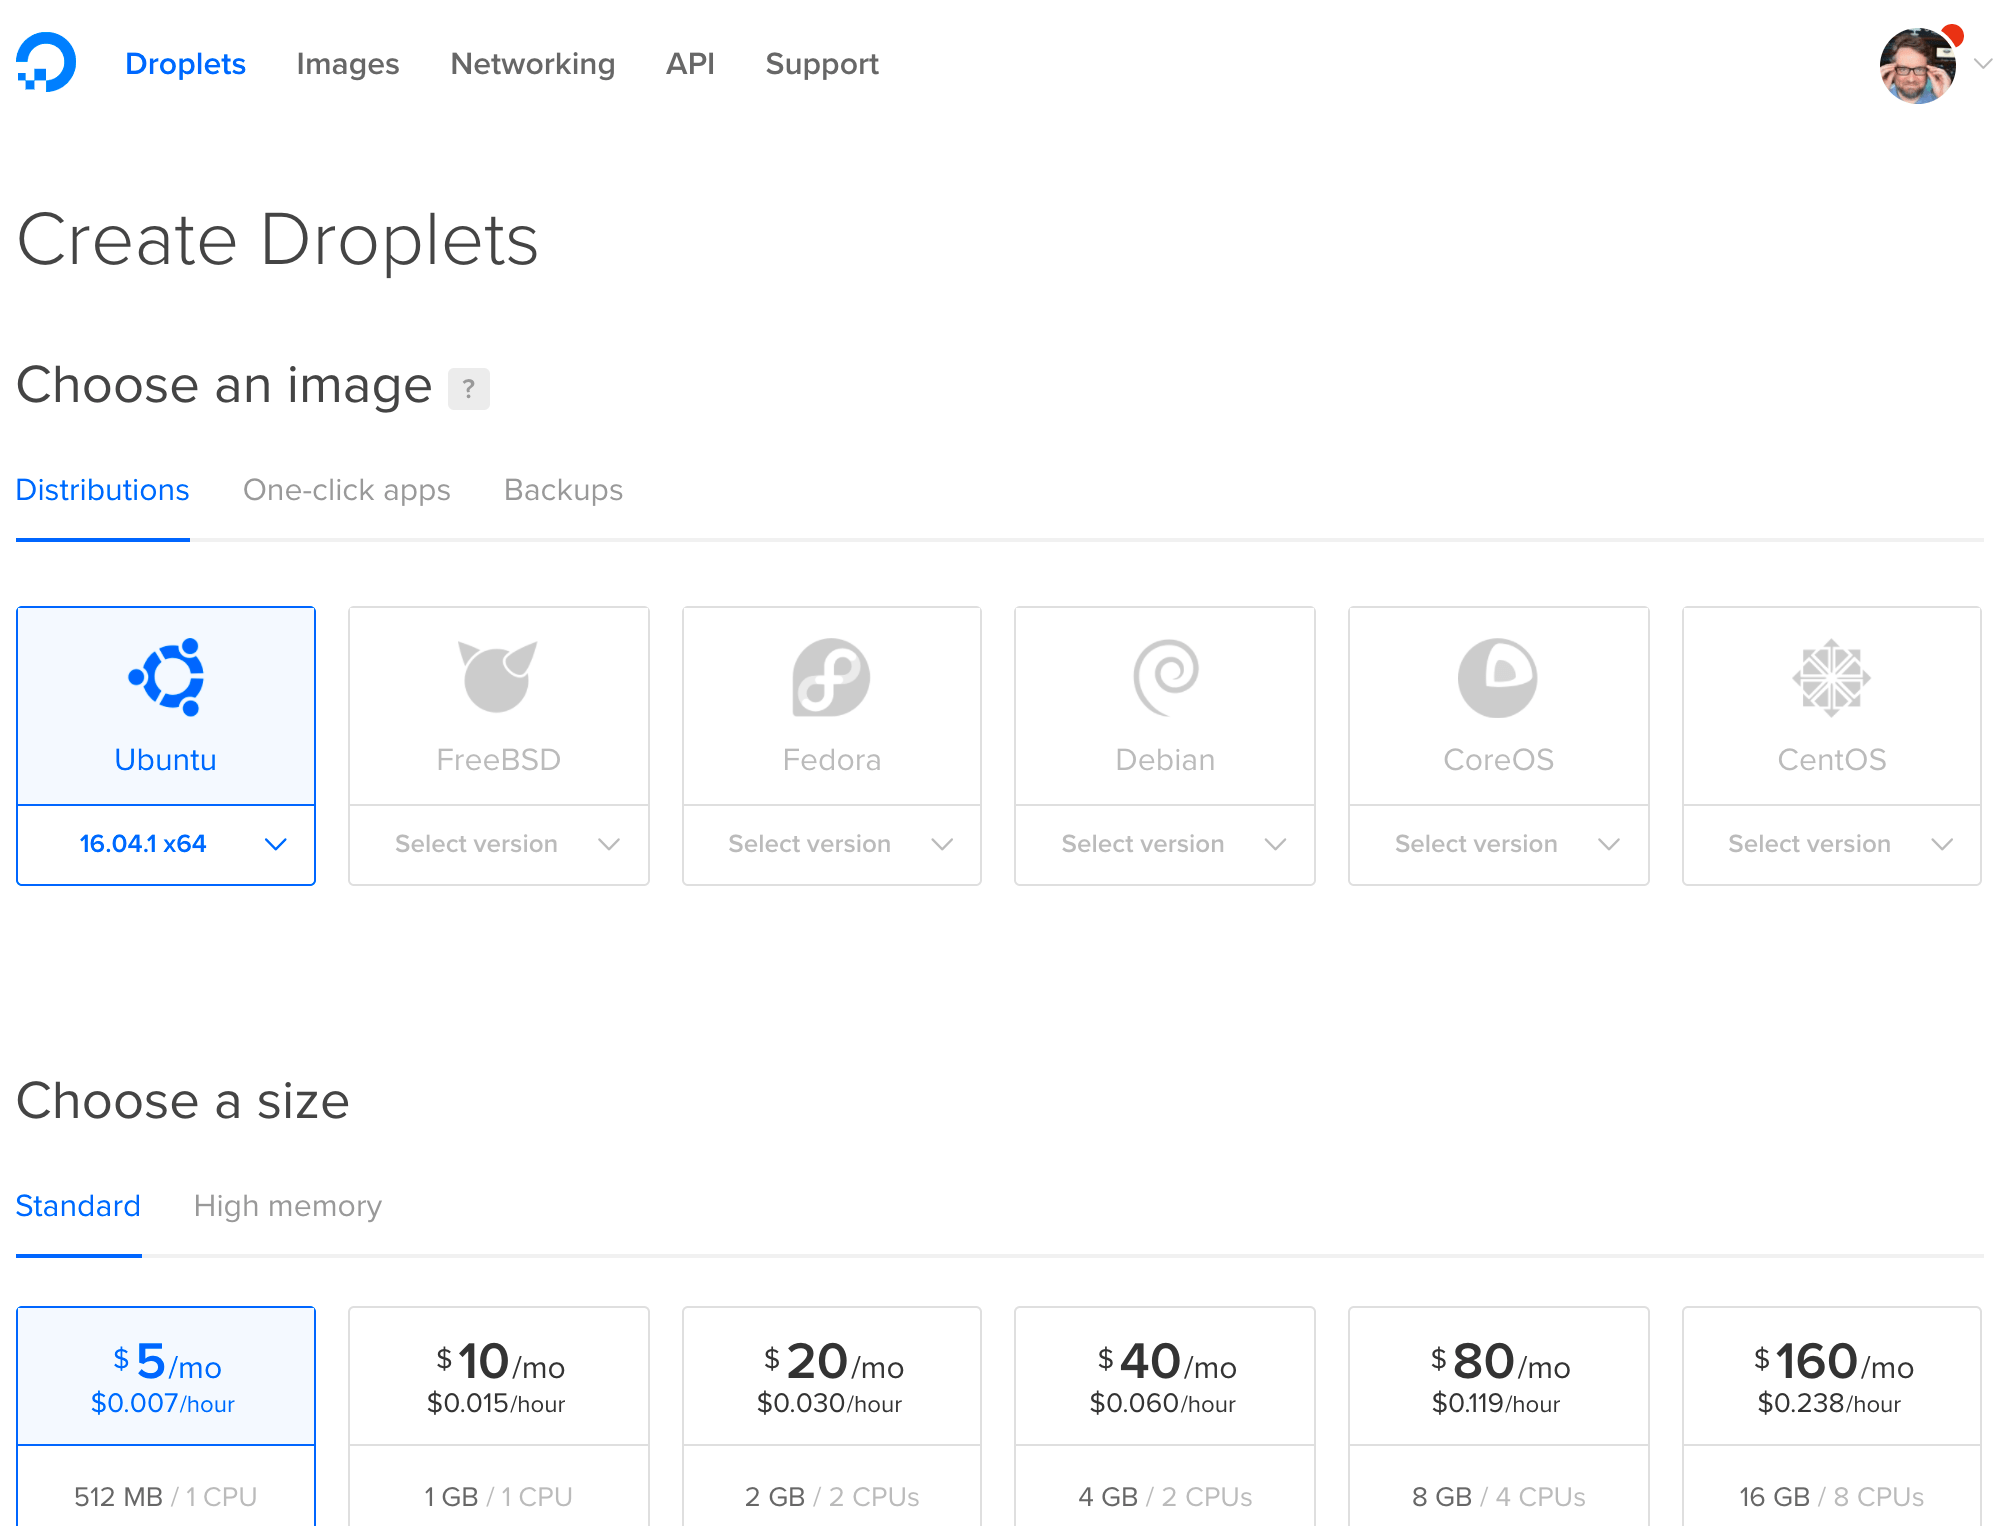
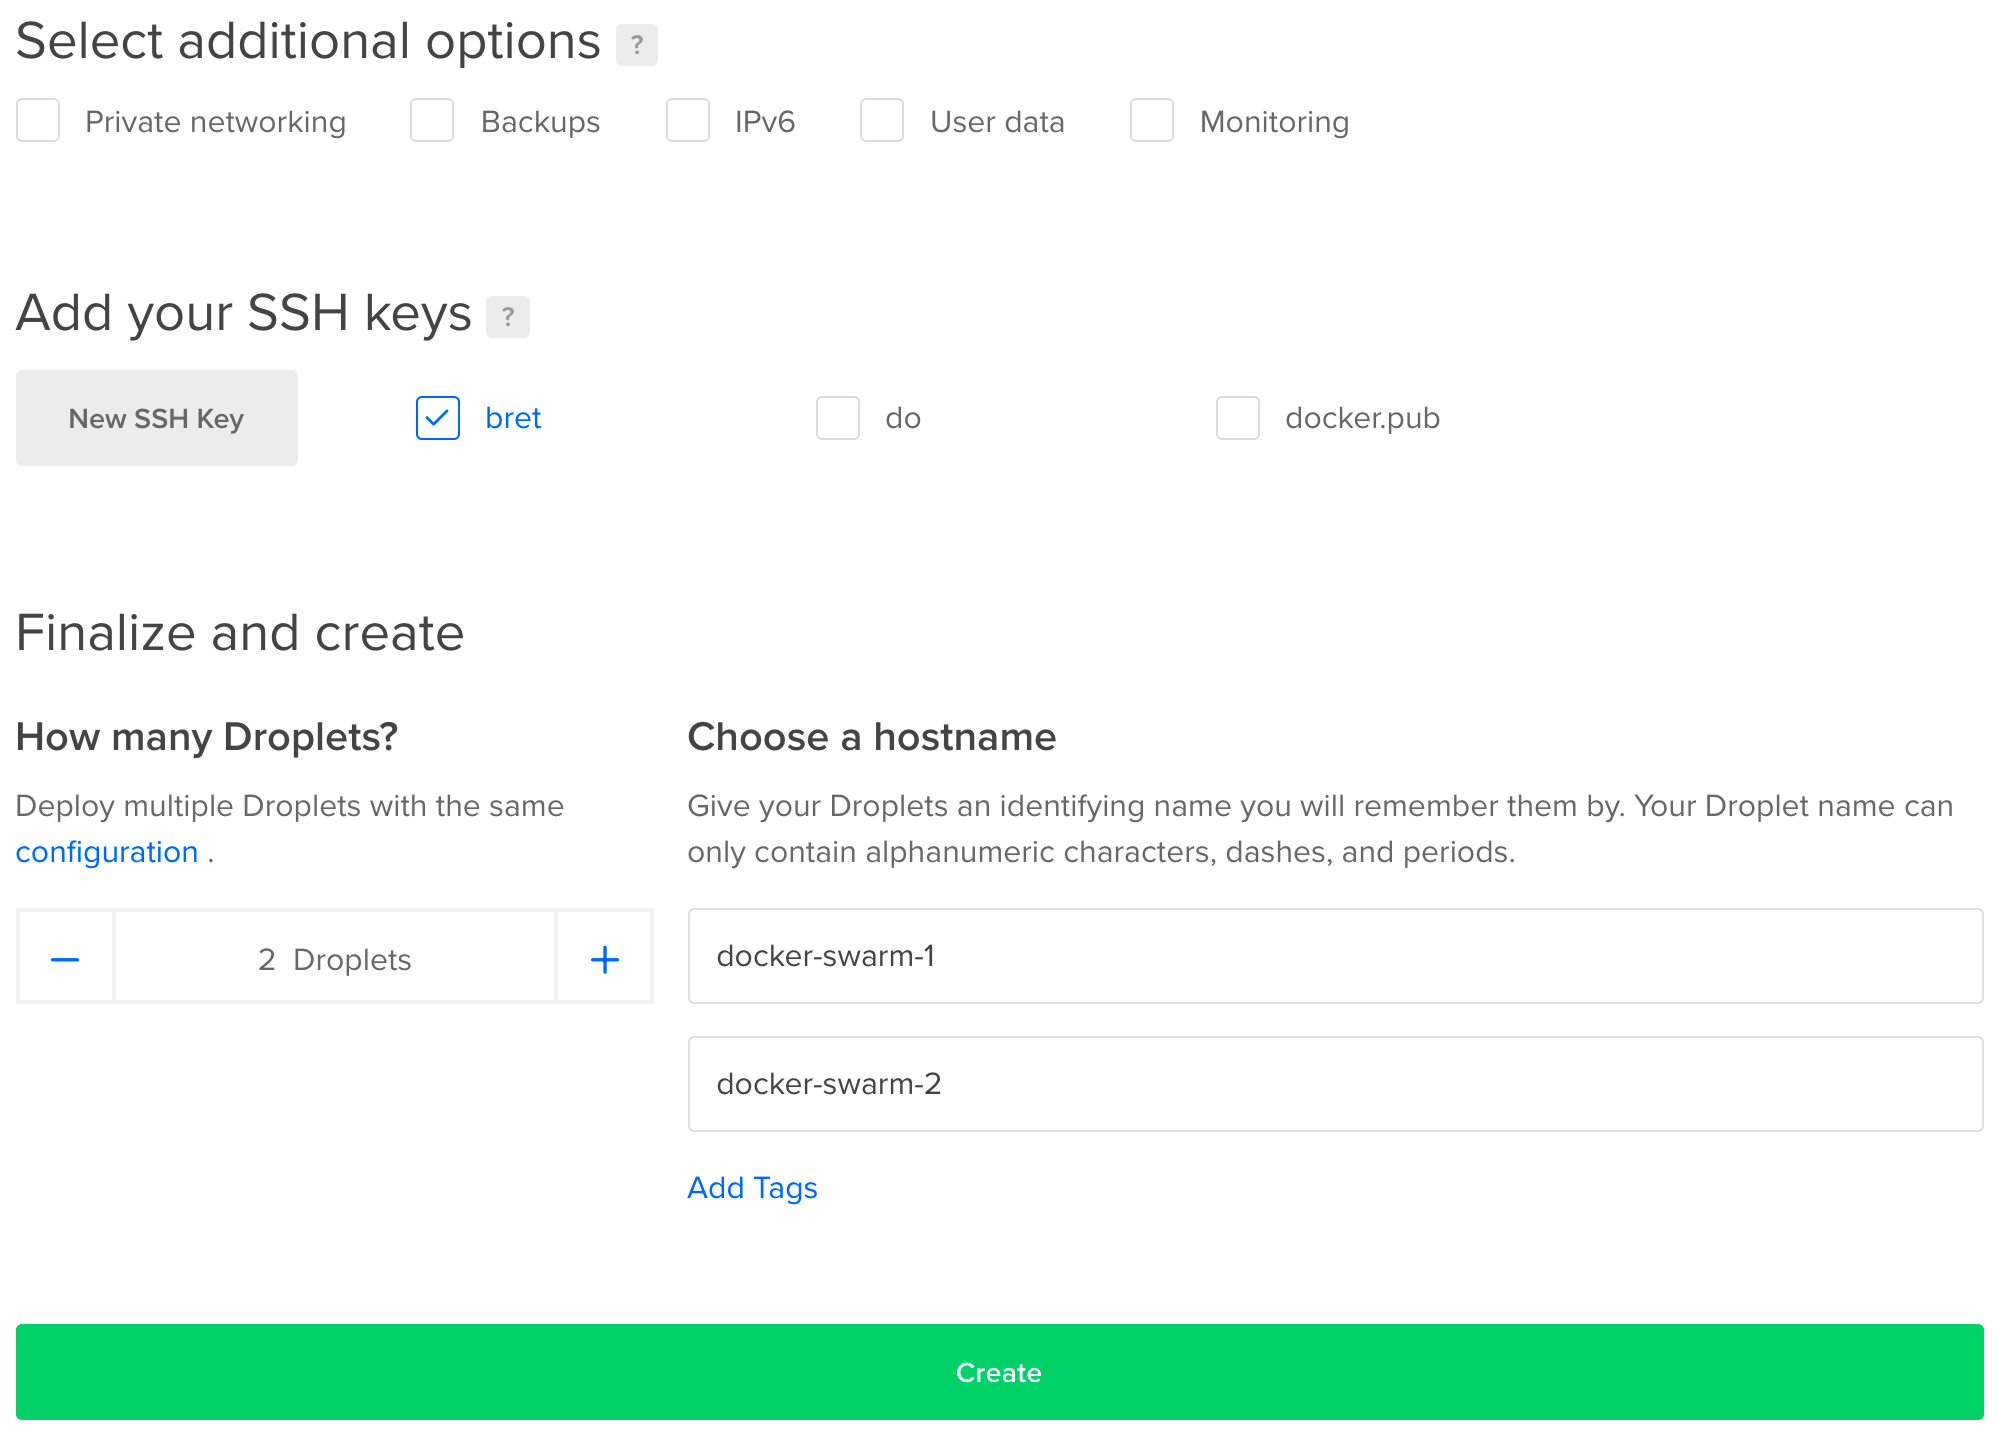
Let's start by creating two Ubuntu 16.04 "droplets" (servers) in Digital Ocean.

These two swarm nodes don't need private networking, as they can use their default public IP's to communicate with full encryption (including any traffic between container apps, if we choose). The service ports on a swarm default to TCP:2377, TCP/UDP:7946, and TCP/UDP:4789 and with encryption and certificate authentication turned on by default, we can feel better about them being exposed to the Internet.
See my firewall ports Gist for more info on swarm communications.

Ensure you upload your ssh key if you haven't before. Now let's this party started!
Install Docker Engine
Docker has a wonderful shell script we can use to check for any required dependencies and finally install the latest Docker release. It will set the daemon to start on boot. There are three versions we can choose from, which enable different sets of features. We're choosing main but you can also choose experimental to get features like "checkpoints" and "DAB files" that are marked as "not fully baked and may change before release". We'll install the release version do this on both nodes.

Let's grab those IP addresses, SSH into both, and do what what we came here to do. Run this on both:
curl -fsSL https://get.docker.com/ | sh
Once it's done, run docker info on both and if you get back service information, so we know it worked and docker is running.
Initialize Swarm Mode
Ok that was the hard part. From here it's a little anti-climatic. On the first node, we run:
docker swarm init
Note that you may get back an error like this:
Error response from daemon: could not choose an IP address to advertise since this system has multiple addresses on interface eth0 (45.55.87.48 and 10.17.0.7) - specify one with --advertise-addr
This just means docker see's multiple IP's on the host and can't figure out which one to use for servers talking to each other. I'll use the public IP for mine:
docker swarm init --advertise-addr 45.55.87.48
We'll get back a random key that we should copy and use to join the 2nd node. This key prevents rogue servers from trying to join our swarm. Notice that this key is to join a worker node to our swarm. The first node we just created is a manager and has powers to control the swarm, unlike a worker that just takes orders. One manager is fine in this config, as losing a manager doesn't kill containers on other nodes, it just means you'll need to bring the manager back online (or create a new swarm) before doing any Swarm activities like changing services. The other reason we don't want two managers here is that Swarm managers use Raft to store data about the cluster, and it needs an odd number of managers to maintain consensus, so two managers wouldn't provide manager HA, we'd need three for that. This single manager scenario still gives us HA Nginx.
On node 2 let's paste in that command it gives us (your command will have a different token and IP obviously):
docker swarm join \ --token SWMTKN-1-1xtnjlu53y6x6hlgbw28yvtpovnydwxa4epe21awtkho9774ir-9x28is0oqn1on1m0nn275mykk \ 45.55.87.48:2377
We now have a swarm with nodes! Almost magic!
Create A Nginx Service
Let's deploy a simple Nginx web server to it, so run this from the manager node:
docker service create --name nginx --publish 80:80 nginx
That created a Service, which is a new concept in 1.12 that uses Swarm Mode to control the scheduler. The service create command will ask the scheduler to execute a Task to start a nginx container on one of the nodes. Let's check to see if it's started:
docker service ps nginx
# docker service ps nginx
ID                         NAME     IMAGE  NODE            DESIRED STATE  CURRENT STATE          ERROR
0iwle3w4hh8r64mys22j89prt  nginx.1  nginx  docker-swarm-2  Running        Running 3 seconds ago
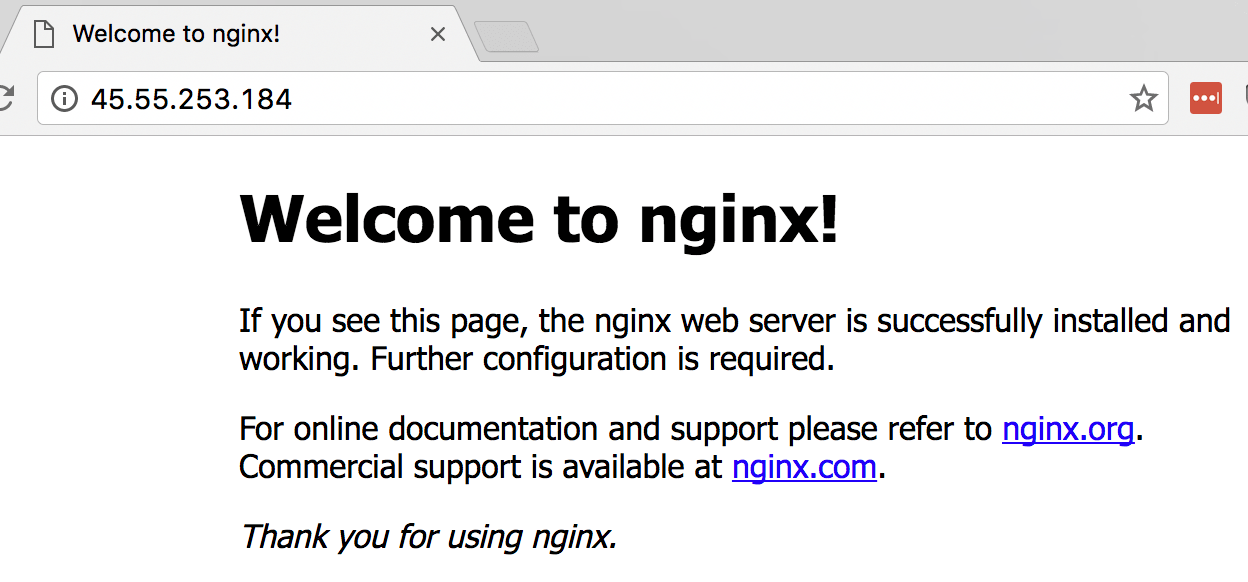
We should see 1/1 running. Notice at this point we're only running one container on one node. Let's check the public IP of that node where it's running to see if we get the nginx default index page.

Yep.
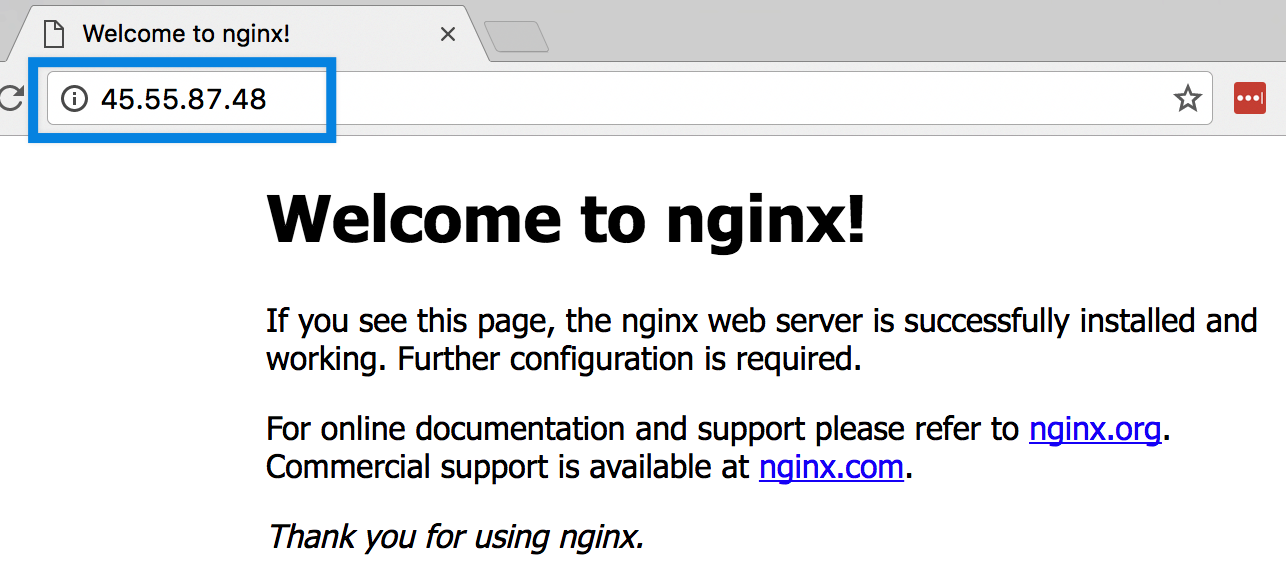
Just to confirm only one is running, let's see about the other node.

Did you just see how the node didn't matter? Docker's new Swarm Mode also includes the Routing Mesh, a packet forwarder that causes every node in a Swarm to listen on published ports, and forward packets to the proper node/container. To take advantage of this for a http site, we could use DNS Round Robin to ensure our site stays up even if one container or server fails.
Hey did you know modern browsers automatically use multiple DNS records for the same URL as a low-budget way to gain failover fault-tollerance? It's great and can truly help you achieve HA in a lot of web site scenarios without needing a hardware load balancer in front just to gain HA. Read more.
Scale Our Nginx Across Servers
Routing Mesh is cool, but if the host that our Nginx container is running on dies, we still loose our web site. We made this Swarm so our web app could be highly-available, so let's do that. Run this command to spin up a 2nd container from the same image:
docker service scale nginx=2
And if we check our task list again, we should see the second container spinning up.
# docker service ps nginx
ID                         NAME     IMAGE  NODE            DESIRED STATE  CURRENT STATE           ERROR
0iwle3w4hh8r64mys22j89prt  nginx.1  nginx  docker-swarm-2  Running        Running 16 minutes ago
6ghzany6acm40wu9m0sssu372  nginx.2  nginx  docker-swarm-1  Running        Running 4 seconds ago
So Let's Review
In about 10 minutes we:
- Installed the latest Docker engine
- Connected them by initializing Swarm Mode
- Created a Service that runs Nginx on port 80
- Told the Service to scale Nginx to 2 tasks/containers
Take Out 1: Kill A Container
BONUS: Remember that Swarm Mode is also a scheduler? Well it now understands that we always want 2 containers running for our nginx service, so if one goes missing, it'll schedule a new one. Let's force remove one from docker so the Swarm scheduler will fix it:
docker rm XXXXX --force (replace XXXXX with the id or name of one of your running containers)
If you're fast enough with the tasks command, you'll see that container disappear, then get recreated. We can tell it's a new container by it's randomly generated name and uptime.
Take Out 2: Our Own Static Content
BONUS: I know we'd never want to just run a generic Nginx... but a simple way to serve a website that, maybe you created with a static-site-generator would be something like:
- Store your site in something like github/bitbucket
- pull the source down to each swarm node (use something like CodeShip to automate it on each git commit)
- Have the Swarm Service create a volume mount from your source code to the Nginx default web root
--mount type=bind,source=/srv/website,destination=/usr/share/nginx/html,ro - So if I recreated my Swarm service with all the things we've talked about it would look like this:
docker service create --name nginx --replicas 2 --publish 80:80 --mount type=bind,source=/srv/website,destination=/usr/share/nginx/html,ro nginx
